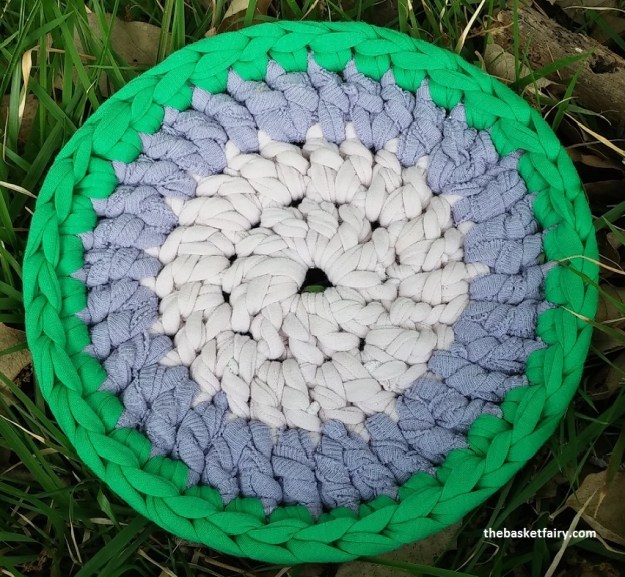
I find the parallel between the basic geometry of a crochet round and that of a mandala intriguing. A humbler sister of the ritual mandala, the crochet mandala is nevertheless soothing and meditative to make, and pleasing to the eye.
This simple mandala pattern is basic but priceless, because if you’ve got it mastered, you are on your way to making rugs, which are the same thing only bigger, and baskets, which are the same thing but with sides.
In the meantime, you can place your hot pan or kettle on it. Scatter a few and you’ll have a gay and festive table setting.
The pale pink and purple mandala was made with t-shirt yarn I cut from old shirts. I was able to use a kids’ size t-shirt for the middle, so that’s another nice thing about it – and of course it’s a great project for using up leftover strand bits, which is what I did in the hot-pink and orange mandala. I got the shirts from the ladies at the charity second-hand shop, who opened up their “for discard” shack for me… Such fine, sturdy, pretty cotton fabric salvaged! And t-shirt cotton is so perfect for protecting the table and keeping the pot-base warm.
I wrote up the pattern, below, and hope you enjoy making it. One word of advice: Give your mandalas freely to your friends and family, or you’ll end up like me, with a zillion different colored ones in your kitchen drawer!
Note: I don’t recommend using this as a pot-holder, because fabric yarn is bulky and the gaps between the stitches can make it unsafe for this purpose.
How to Make Happy Mandalas (can be used as trivets):
The top mandala is made from recycled t-shirts but for the green rim (I used two old children’s t-shirts).
The bottom mandala is made from bought cut strands.
I used a size 12 hook, but any size works well as long as it suits your strand.
I used 3 colors for each of these (1C, 2C, 3C)
Using 1C, make a magic ring.
Row 1: Ch 3. This counts as the first dc. Make another 11 dc into magic ring. Close with sl st. (12)
Row 2: Chain 3. The ch 3 counts as the first dc. Dc into base of ch 3 (the top of the ch 3 in previous row). 2 dc in every following 11 st. Close with an invisible join, cut. (24)
Row 3: Using 2C, start with a free-standing dc into any st. 1 dc into same st. 1 dc into next st. *2 dc into next st, 1 dc into the following st*. Repeat x 11. Close with an invisible join.(36)
Row 4: Using 3C, start with a free-standing sc into any st. Sc into next 4 st, 2 sc into next st. *sc into next 5 st, then 2 dc into next st*, rpt x 5. Close with a sl st. (42)
Row 5: Sl st into each st on previous row (surface slip stitch). Close with an invisible join and cut. (42). The surface slip stitch evens out the rim of the mandala to make it smoother and rounder looking.
Weave in the ends.
Or – and this is my very fancy secret technique, which I have titled “draw as you stitch”, but you have to be a little skilled. It goes like this:
Row 4: Instead of adding stitches, sc into every stitch, close with an invisible join and cut strand (36). As you are working, draw the hook a bit after every stitch to make the loop longer, before beginning the next stitch. That way, the final row will not turn bowl-like even though you haven’t added any stitches.
As you can see in the top mandala, where this technique was used, it gives you a smoother-looking and more circular edging than if you add stitches, but it requires you to draw the loops consistently to make for uniform stitches. With a little practice, it can be mastered, and is worth the effort!
For this mandala, I didn’t make a row of surface sl st (Row 5). That’s because when you use the draw-as-you-stitch technique, the last row already comes out even looking.


