Tag Archives: bowl

Crochet Kitty Basket from T-Shirt Yarn

How Old is Eleven?

How old is eleven? Not too old to receive a Kitty basket!

20160916_164248-1-2

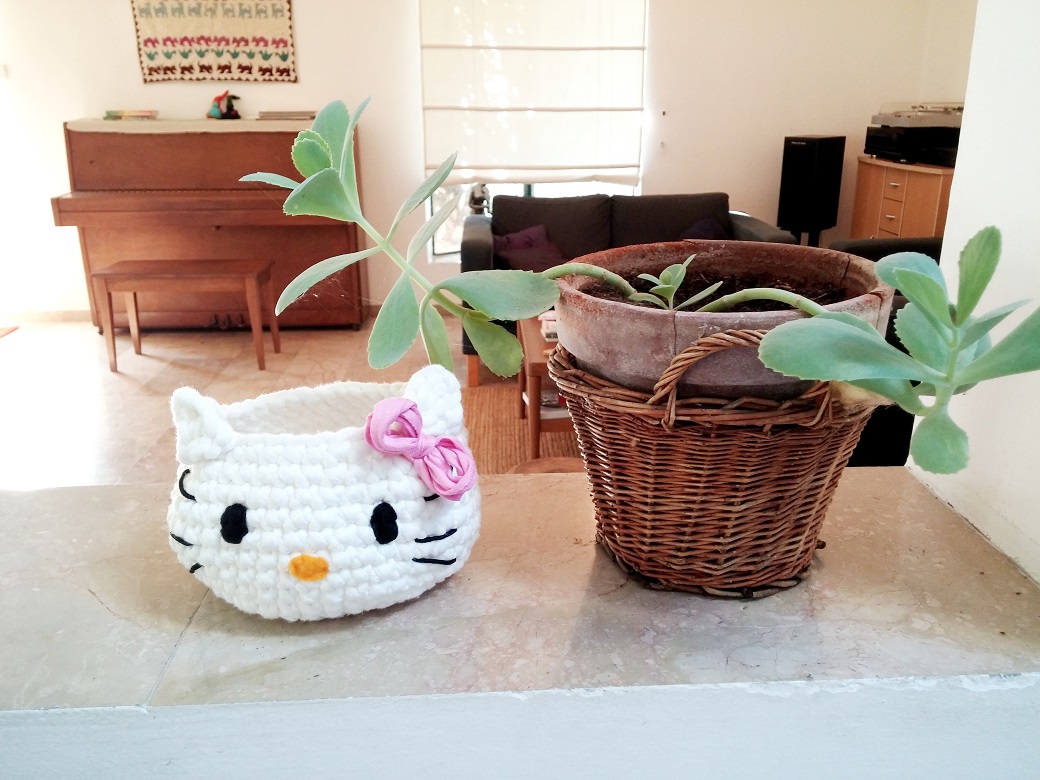
The idea for this basket came about a while back, when my niece M.’s birthday was still quite far off. I was crocheting a roundish basket with fabric yarn, and when I looked at the shape, or rather, when I felt the shape in my hands, I found myself thinking: If only this were in white… And had ears and whiskers… You see where I’m getting to.

But when M.’s birthday was nearing, I stopped to wonder for a moment – is eleven still okay for this? You know, eleven – old enough to babysit the neighbors’ kids, and understand a lot of things, and make beautiful drawings and handicrafts, and help around the house…

The answer I gave myself: Of course!

Crochet Kitty Basket from T-Shirt Yarn

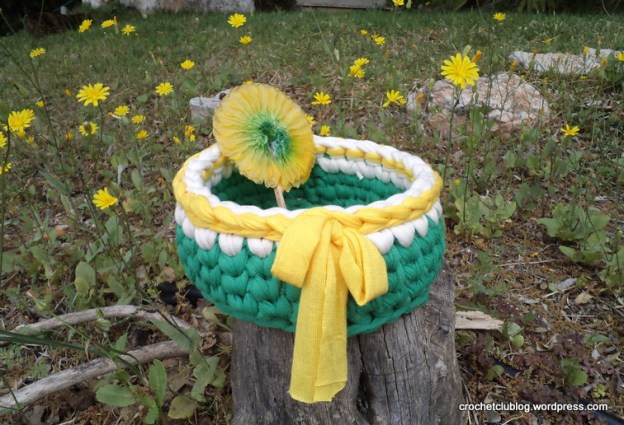
I made a white, roundish basket, then made ears, and eyes, and whiskers, and a little bow. It was such  fun to make, and fun to give! And judging from M.’s response, I think I got the answer right.
Probably, not a moment too soon…

20160916_163808

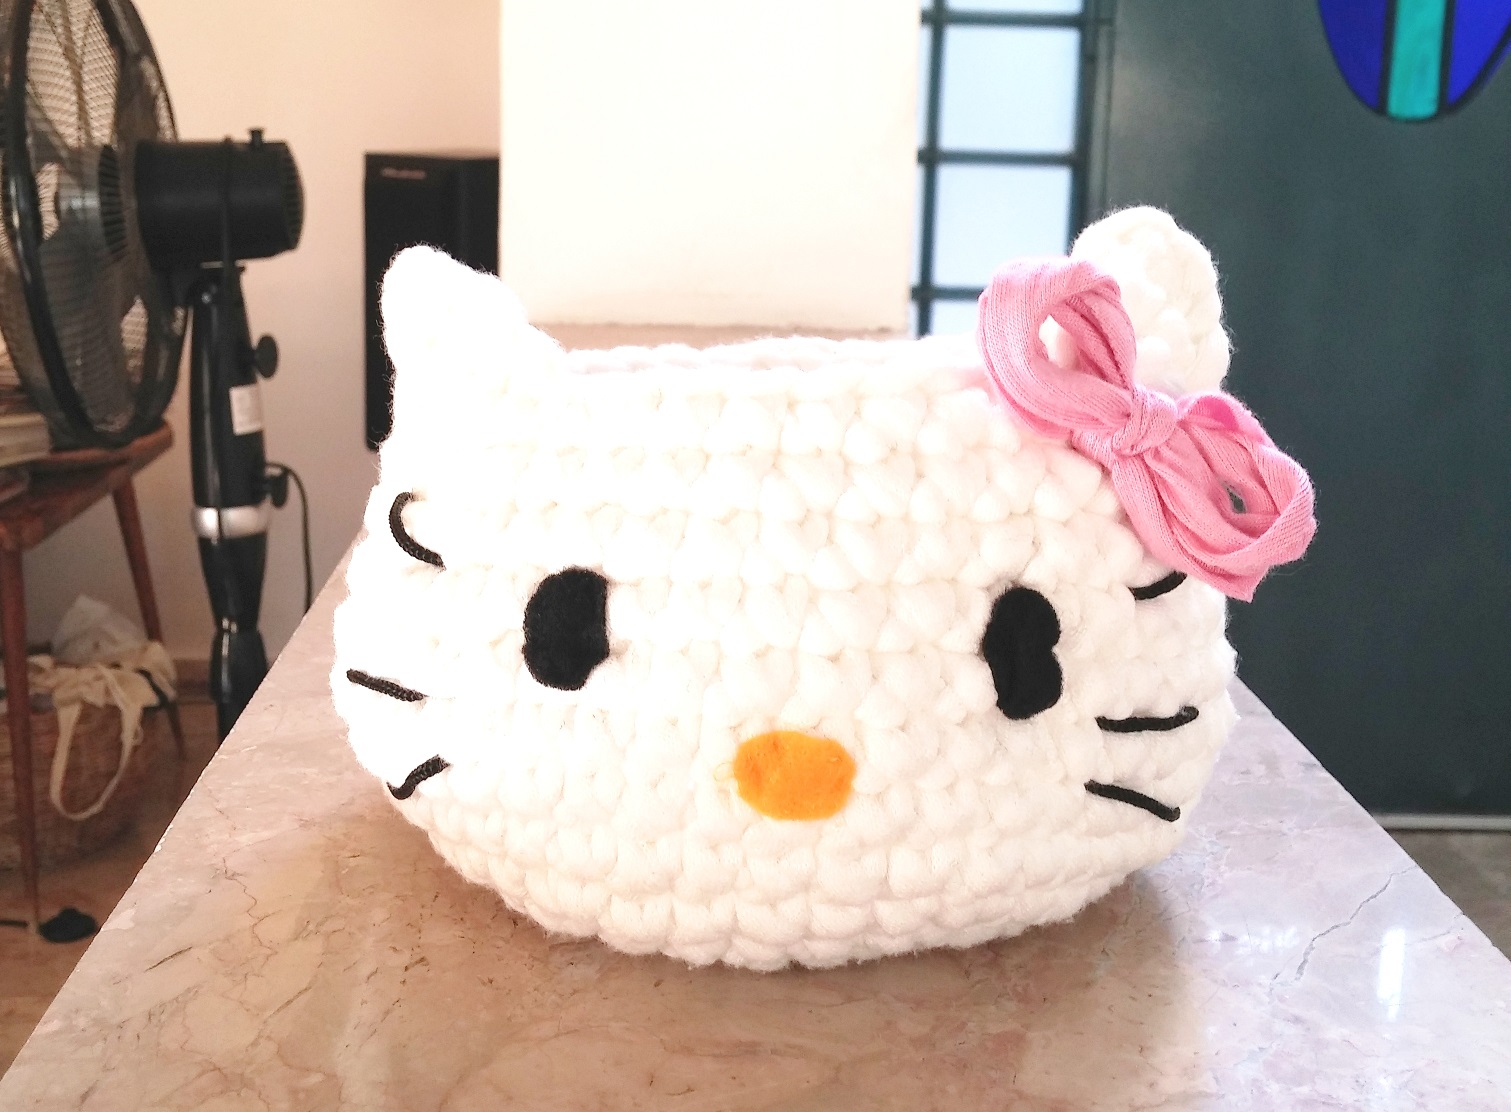
Some Tips for Making a Kitty Basket:

The basket was crocheted in yarn under single crochet stitch (a favorite stitch with me), using a size 10 hook and white fabric yarn. The basket was formed by crocheting in a spiral.

The ears were crocheted separately and stitched on with fabric yarn (at just the right angle…)

The eyes and nose are cut from felt, and sewn on (you could probably paste them on with glue).

The whiskers were stitched onto the basket (each whisker is a single, jumbo-size stitch), and the thread is an old glasses cord.

The bow is made from a scrap of fabric yarn.

Save

Save

Save

Save

Save

Save

Save

Save

Advertisement
Fabric Crochet Basket Textile yarn t-shirt yarn plarn trapillo

It’s Not Me, It’s the Basket Fairy!

Yes, I know I’ve already made lots of baskets, even one or two pretty much like this one, but can I help it if I go out to the garden and find a cute pink basket just sitting in the geraniums waiting to be picked up? And can I help it if it’s just the right size for the baby gift I wanted to give my friends, and it even complements it in color? And can I help it if the baby who got it just loved it?
It’s the Basket Fairy, hovering over, finding the right moment to leave a soft, squeezable, colorful little gift where I least expect it. What would you do?

Fabric Crochet Basket Fabric Crochet BasketFabric Crochet Basket

How I Made the Basket: The same way as always… A size 12 hook and medium-wide, slightly stretchy, but not too stretchy, fabric yarn. Start with a magic circle and crochet a spiral base (or just a round base) in yarn under single crochet. Finish off with an invisible join. Start row 1 anywhere, crocheting into back loops only in YUSC. At the end of row 1, slip stitch into first stitch, chain 1, and continue stitching the next rows the same way. When you have reached the desired height, finish off with an invisible join. To make the trim, I used a complementary strand of fabric yarn. Place the basket facing you so that the part where you made the slip stitches to finish off the rows is in the far back. Now insert the hook into the back loop of the stitch in the middle of the top row (facing you ) to make a slip stitch, leaving a generous tail for the bow later on. Slip stitch into every stitch thereafter, into back loop only, till you have reached the stitch before the one you drew the strand from. Finish off with an invisible join. Cut the strand, leaving a tail the same length as the first one. You now have 2 tails on the inside of the basket. Draw each of the tails to the outside of the basket, using the spaces between double crochet stitches of the last row of the basket, with one dc stitch between them, and tie them in a bow.

Crochet fabric yarn basket

Peach and Purple

But actually, neat and sturdy stitches aren’t limited to Baskets for Guys. I had fun making these for the lovely young ladies, splurging in peachy orange, sparkly purple and pink-striped trim. I’m sounding bold but all along there was that nagging hesitation too – will the baskets fit the color scheme of their destined surroundings? Will they suit the receivers’ individual tastes, which I so admire and respect?
But if we went along with thoughts like that, there’d be no give and take, would there, to use Eeyore’s terms. And thinking of that, weren’t Pooh and Piglet a little hesitant about their own gifts too, and wasn’t Eeyore so very pleased to get them nonetheless?
And does a flower ask itself every day if its colors are just right, and if its petals are facing the exact right direction?

Bird of Paradise
So, I guess all we can do is pick up our magic wand and crochet that pumpkin – or lilac – and send them on their way!

Crochet Fabric Yarn BasketBird of ParadiseCrochet Fabric Yarn BasketCrochet Fabric Yarn Basket

The baskets are posing here with a little something in them, and in real life, there were other little somethings inside.
No problem with ribbons this time!

Crochet Fabric Yarn Basket

How I made the baskets:
Using a size 12 hook and fabric yarn, I made a round spiral base in SC. I worked the sides in yarn under single crochet, working into the back loops only of the base. I made the trim in crab stitch, or reverse single crochet. I left a tail at the beginning and end of the trim, and used it to tie the bow. That’s it!

Save

Crochet Fabric Yarn Basket

Spring Basket

It’s still spring in Basketland – Look what sprouted in my garden!Crochet Fabric Yarn Basket

After more spiral-crochet baskets than I can count, occupying a total area which far exceeds the sum total of surface areas in my house AND all my friends’ and relatives’ houses combined, I’ve decided it’s time to switch to… A new type of basket! My research on more sturdy sides, allowing for a slightly less roundish and more cylindrical shape, led me to the waistcoat stitch. The stitch, despite its anything-but-botanical name, actually yields a lush leaf-like texture, which totally looks like something growing from the spiral base . And so it is fitting that it should have a daisy-ish trim. I made the trim with a combination of single crochet (the white) and slip stitch (the yellow).crochet fabric yarn basket

And of course, the bow.Crochet Fabric Yarn Basket

fabric yarn basket

Blue Basket With Flowers and Trim

Since my first two little baskets, I have crocheted so many baskets with fabric yarn, and un-crocheted even more!  Wait, that doesn’t make sense… But that’s how it seems.  Fabric yarn is so quick and easy to unravel, that whenever I don’t like the outcome I just pull and undo it, and remake it a little better… Or maybe change the type and color of the trim.
But if I get past the immediate urge to unravel the imperfect, or if by chance it comes out perfect, I place the finished basket somewhere ‘just for now’, and something strange begins to happen… The fabric yarn I just finished crocheting sends off little rootlets into the table or the shelf… The roots grow into the surface, deepening their hold (they do this especially at night), and when I want to move the basket, I discover it’s too late, it’s impossible to detach it from where it has been standing.
There is only one way to get around this (that I know of), and that is, when you crochet the basket for someone special. There will be a lot of unraveling and redoing, but when it’s finished, the roots will wait to grow until they reach that person’s house.
So now, it’s just a matter of finding the right flowers to go with the basket.2014-2-canon 167
I have had two opportunities to make such a basket for two special someones, and it was such a nice feeling to see them growing roots in their new home. Well, I didn’t try to lift them from their place but I assume it’s the same on any surface.
IMG_20140802_172537095This picture was taken by my niece N. (we were running a little low on daylight, but I think the lighting gives it atmosphere…).

These two baskets (they are two different ones, although they look the same…) were made by single-crocheting blue fabric yarn in a spiral for the base, then continuing straight on for the sides. Once you have a low-rimmed blue bowl, you finish it off, and start to crochet the flower rows. My green and red strands were slightly thinner than the blue, so I think I may have used a slightly smaller hook. This serves well for the rounding in of the basket. You start with the stems in green: Two half double-crochets in a stitch, then skip one (you need to have an even number of stitches, which you will if you start the base with an even number of single crochets into the magic circle). For the next row, you crochet a red half double crochet into a pair of green hdc’s, right between the stems – then chain stitch, and so on all around. For the trim, you use a lacy strand of fabric yarn. You start by slip-stitching the strand to the space between two red hdc’s, then chain-stitching (I think 4 ch st), and slip-stitching again in the next space, and so on all around.
2014-2-canon 160
If you start with a tail to the thread and end with one, you can pull those tails through to the outside of the basket to make a bow, or just tie in a loose knot and let the strands hang down so their laciness shows.
2014-2-canon 161
If you put a flowerpot in the basket, be sure to use a base for it, and if you want cut flowers or a little flower arrangement, make sure it’s in a bowl!